Dried orange slices are so simple to make and add to your seasonal decor. Their gorgeous natural texture and vibrant color look beautiful in any season.
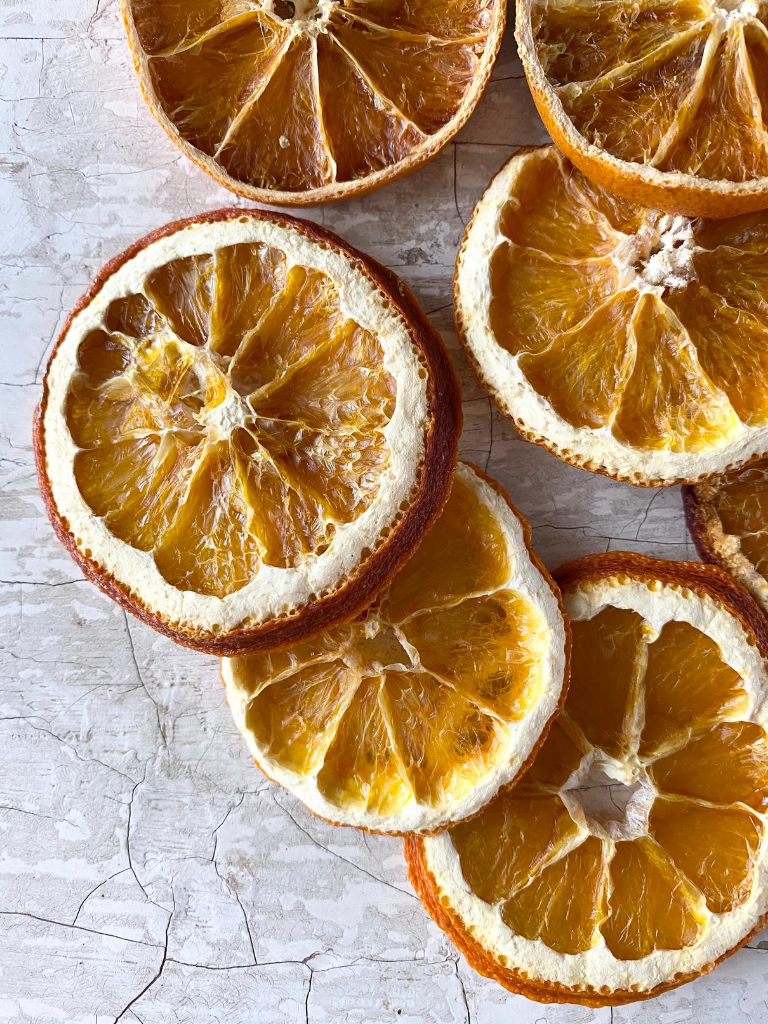
Are you looking for that perfect, natural splash of color for your seasonal decor? Look no further than your produce bowl! Dried oranges are an inexpensive and easy way to spice up your decor. Add them to a wreath for extra color and dimension. Tie them on a piece of twine to make a fragrant garland, ornament, or napkin ring. Fill a bowl with a handful of orange slices to make potpourri. These dried orange slices look great with natural, golden fall decor. They also look gorgeous with evergreen holiday decor.
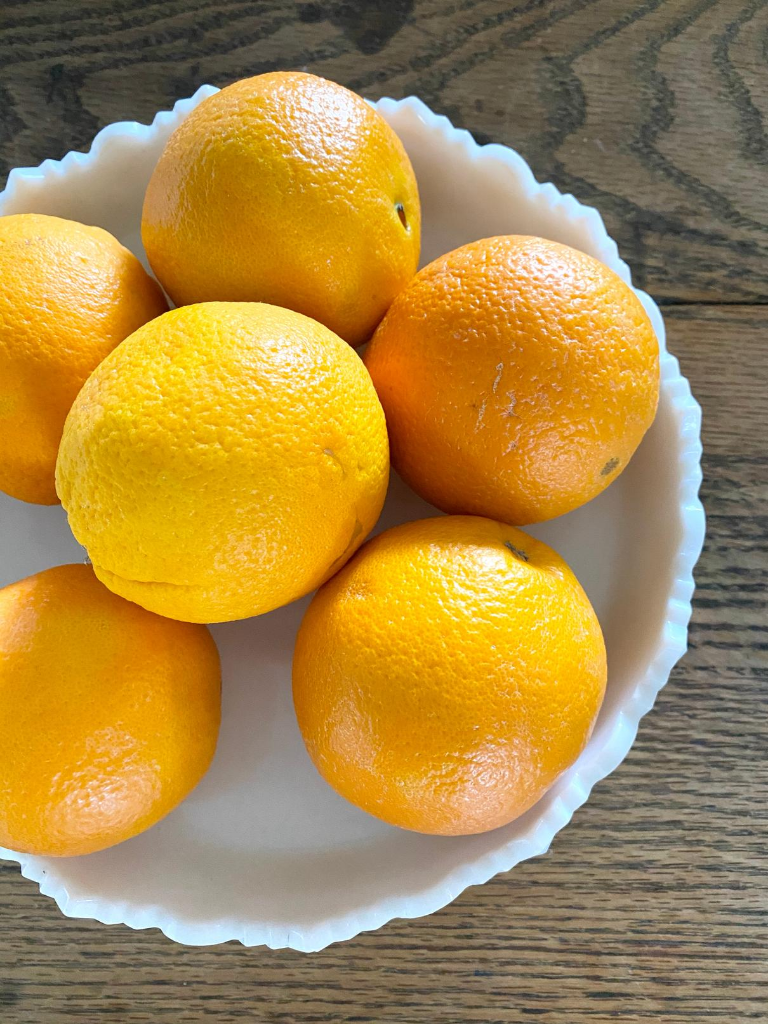
What kind of oranges should I use?
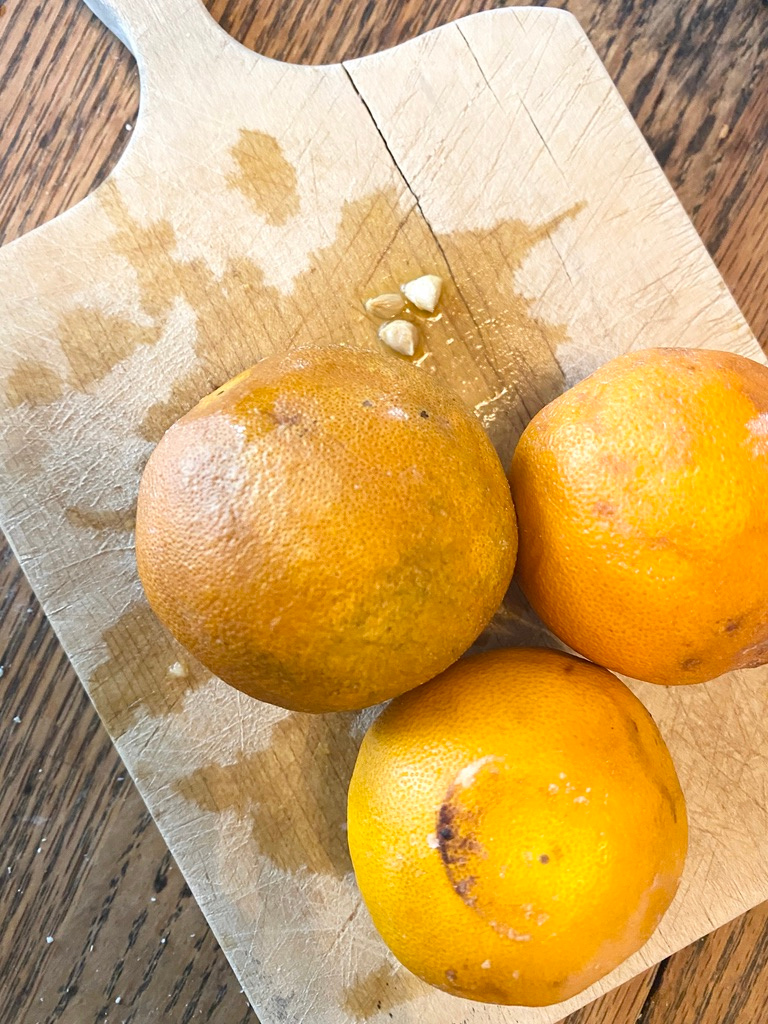
I used navel oranges for my dried orange slices, but you could use other varieties. Even oranges that are past their prime turn out well. Blood oranges would turn out a pretty, darker hue for winter. Juice oranges might take longer to dry out than other kinds of oranges, but I think they would turn out well. I don’t recommend mandarins, though, because their peel comes off rather easily.
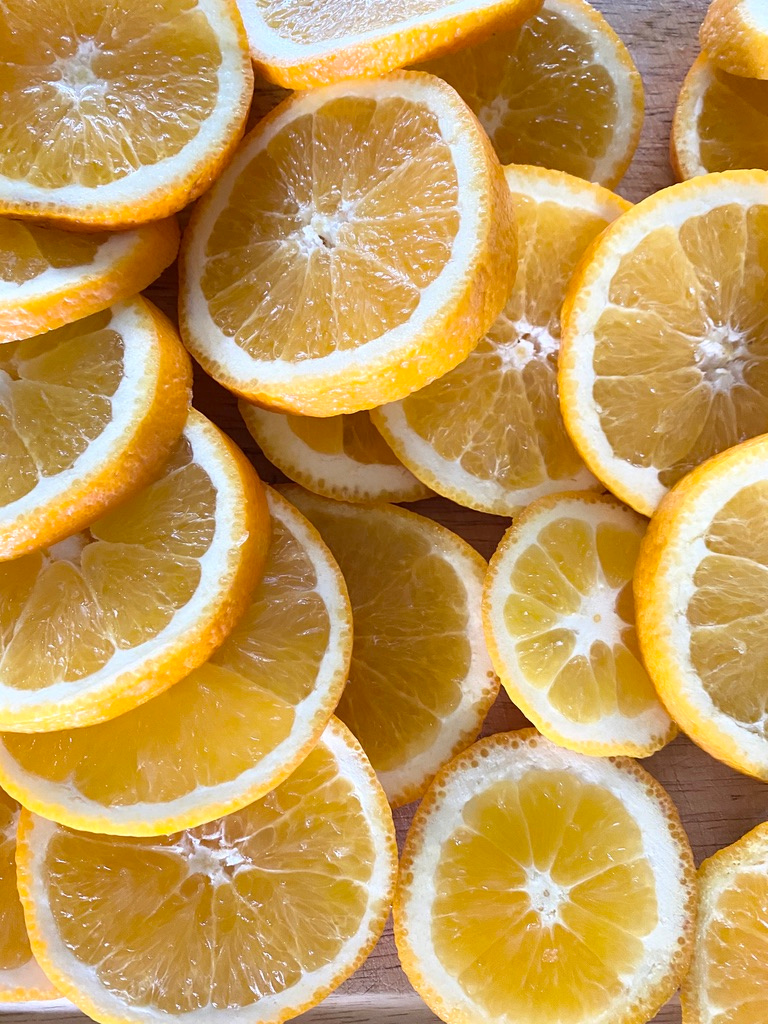
Slicing the Oranges
I sliced my oranges into 1/8 – 1/4 inch slices. The thicker the slices, the longer they take to dry. The ends of the oranges can take a while to dry if they are especially thick, but they are great to use in a bowl as potpourri.
Prepping the Orange Slices
Once the oranges are sliced, they are ready to be placed on a cooling rack over a baking sheet. It’s best to space the oranges out so that they aren’t touching. This way the warm air in the oven has more room to circulate. Next, lightly blot the oranges on both sides with a towel to remove excess moisture.
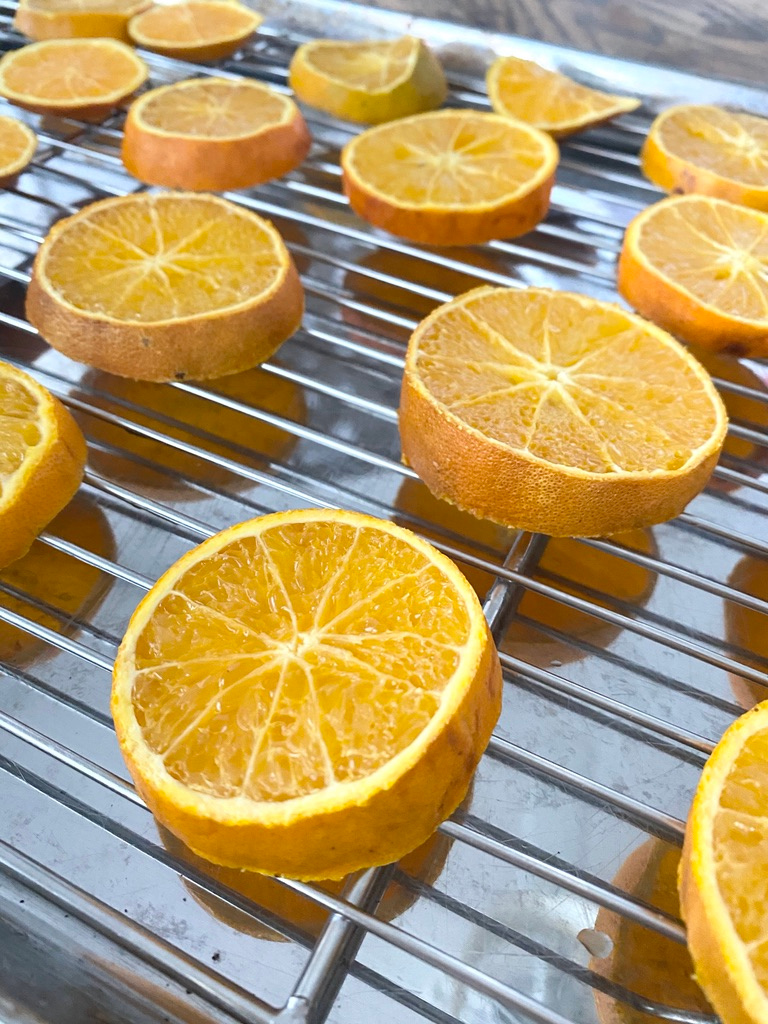
Baking the Oranges
Bake orange slices in a 175 degree oven, turning every 30 minutes until completely dry. Remember to set a timer so you don’t forget about them! It can take anywhere from 5 to 8 hours for the orange slices to dry. You’ll know they are done when they no longer feel wet or sticky. If you leave them in too long, they will start to brown. (Ask me how I know!) Don’t be tempted to turn your oven temperature up to speed up the process. I baked my first batch of oranges at 250 degrees and ended up browning a bunch of them. It’s better to be safe and let the oranges take their sweet time to dry.
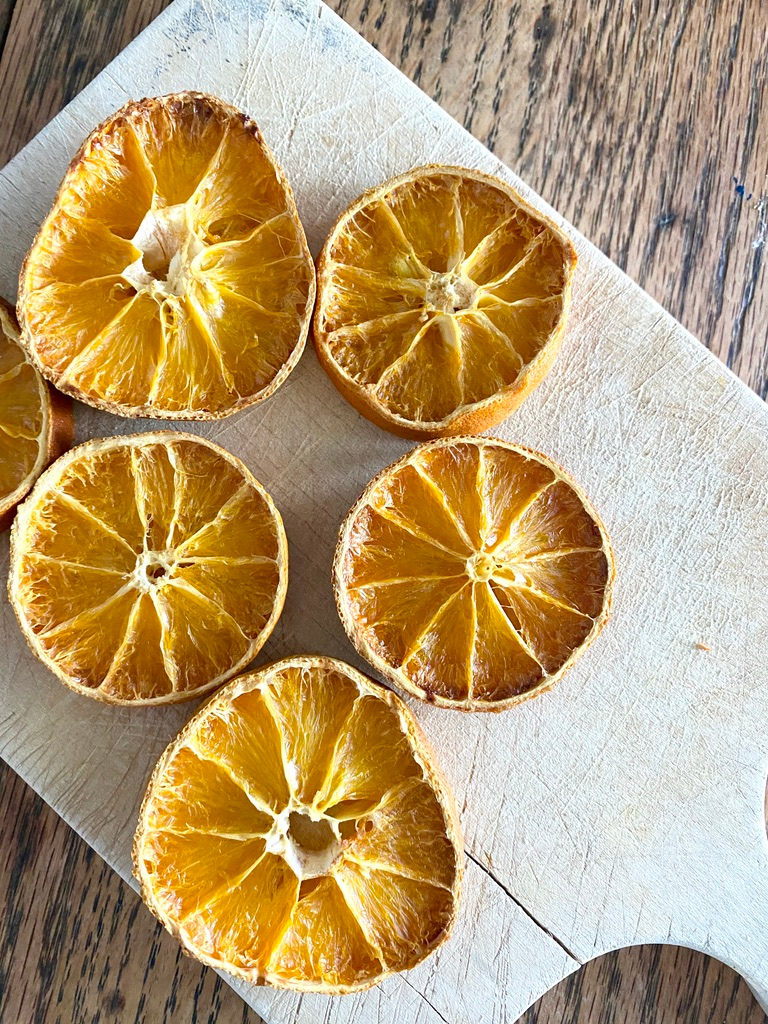
That’s all there is to it! It really doesn’t take much effort at all to end up with these gorgeous dried oranges. I just love the deep color and course texture they get as they dry.
Give it a try and let me know what you think. I’d love to see how you incorporate these dried orange slices into your decor!
How to Make Dried Orange Slices
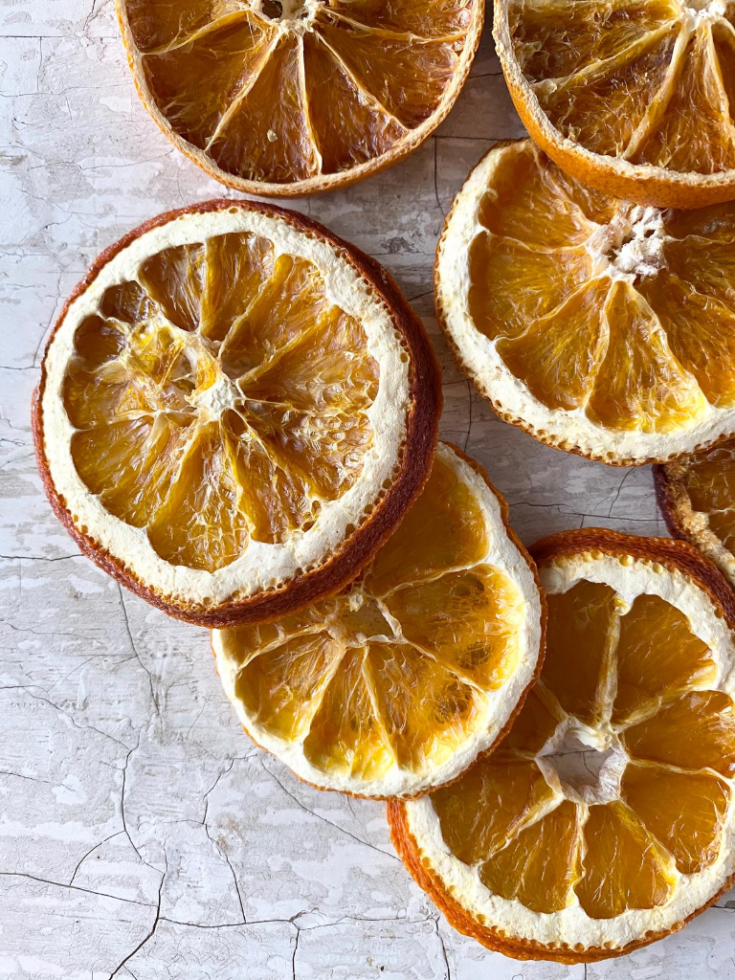
These simple, dried orange slices have beautiful color and texture. They'll make the perfect addition to your seasonal decor.
Materials
- oranges
Tools
- cooling rack
- baking sheet
- knife
- oven
Instructions
- Slice oranges into 1/8 - 1/4 inch slices.
- Space the orange slices apart on a cooling rack over a baking sheet.
- Lightly blot each side of the orange slices with a towel to remove extra moisture.
- Bake in the oven at 175 degrees, turning every 30 minutes until dry (about 5-8 hours).
Notes
You'll know your orange slices are dry when they are no longer wet or sticky to the touch. Set a timer to remind yourself to turn and check your oranges. If left in too long, they will start to brown.
Pin it for Later


I did this for the first time last winter and loved the way it made the house smell, and they made for pretty decor! Next time I will try blotting them before baking, like you suggest.
They do smell good! I think blotting them speeds up the process a little bit.
Love dried oranges! They smell good, looked good and are super affordable!
Me too! Yes, to all of the above!
Thank you so much for sharing this recipe. I have a handful of dried orange crafts pinned and honestly, had no idea how to dry them. They’re even more stunning in your photos than I would have imagined.
Thanks so much! It’s really very easy, it just takes some time. I can’t wait to see what you do with them!
This is gorgeous! Thank you for the inspiration! My kids would love to make this and this would be a great activity for our homeschool.
Thank you! I hope you all enjoy making them together!